During the Valentine’s season, our thoughts often turn to ways we can show love to those around us. But what about our homes? Don’t they deserve some TLC too?
We think so!
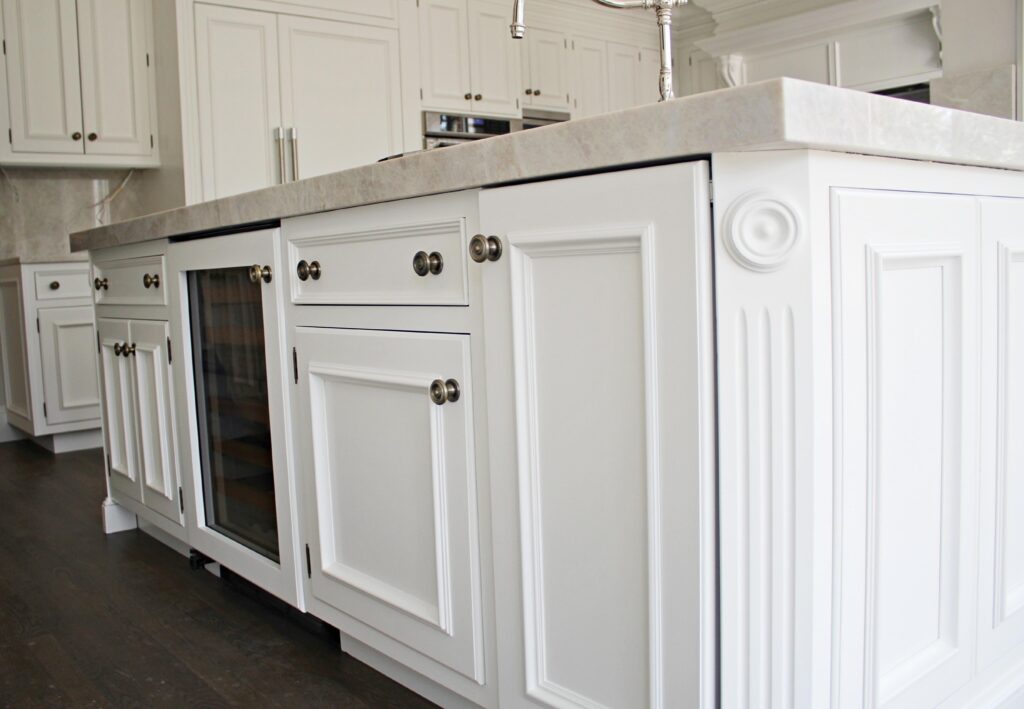
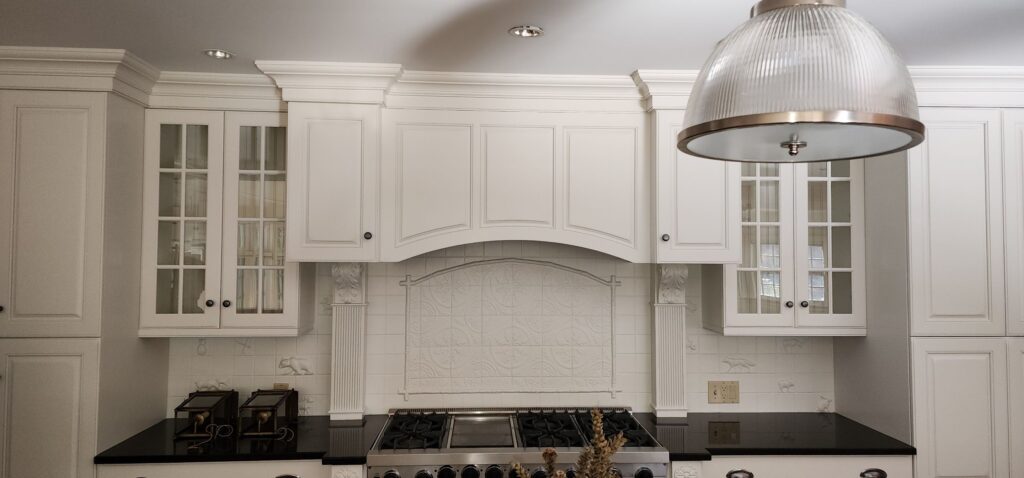
And what better way to care for the heart of your home than by keeping up with maintenance on your painted cabinets? These surfaces work hard for us, facing the brunt of daily wear and tear while never complaining. Over time, however, they can start to show their age. So let’s give these hard-working surfaces a little love, ensuring their beauty and durability can stand up against life’s hard knocks.
Why Maintain Painted Cabinets?
Painted cabinets are more than just a design choice; they’re an investment in your home’s aesthetic and value. Well-maintained cabinets can transform a kitchen, making it feel cleaner, brighter, and more inviting. On top of that (and beyond mere aesthetics) regular maintenance can extend the lifespan of your cabinets too, saving you from costly replacements or extensive repairs down the line.
Cabinet Cleaning: A Step-by-Step Guide
Cleaning sounds easy enough, right? It is! But there are definitely a few tips that can make the job more effective.
1. Empty the Cabinets: Begin by removing all items from your cabinets. This gives you the chance to declutter, organize, and inspect the interior of the cabinets for any signs of wear or damage.
2. Prepare Cleaning Solution: Mix a few drops of mild dish soap with warm water in a bucket. For greasy buildup, you can add a half cup of vinegar to the solution for its degreasing properties.
3. Wipe Down Interior/Exterior Surfaces: Dip a microfiber cloth or soft sponge into the cleaning solution, wring it out well so it’s damp but not dripping, and wipe the exterior/interior surfaces of the cabinets. Use a toothbrush or small brush to get into corners and crevices if necessary.
4. Have Tough Stains? Make a paste with baking soda and water and apply it to the stain. Let it sit for a few minutes before scrubbing gently with a soft brush or cloth, then rinse with a damp cloth.
5. Rinse and Dry: After cleaning, rinse the surfaces with a clean, damp cloth to remove any soap residue. Then, dry the surfaces thoroughly with a clean, dry cloth to prevent moisture damage.
6. Clean Hardware: Remove knobs, handles, and pulls to clean separately if they are very dirty. You can clean these with the same soap and water solution or use a metal cleaner for the appropriate type of metal. Rinse and dry thoroughly before reattaching.

Cabinet Painting Touch Ups
Do your cabinets have minor chips or scratches? Nothing a little touch-up can’t handle. Lightly sand the spot to create a smooth surface for better paint adhesion. Be sure to match the paint used on the cabinets as closely as possible. Using a small brush or sponge applicator, apply the paint in thin layers, allowing each layer to dry thoroughly before applying the next.
If you’re an A.G. Williams Painting customer and need touch-ups, please call us. We can make short work of the process and guarantee a fantastic finish.
Cabinet Repainting: Knowing When To Start Fresh
If touch-ups are no longer enough, or if you’re just plain tired of your cabinet’s paint job, it might be time to repaint your cabinets altogether. Take a look at this overview for helpful information as you decide whether to repaint or replace completely.
Frequently Asked Questions
Q: How often should I clean my painted cabinets? Aim for a gentle cleaning once a week to prevent buildup of grease and dust.
Q: Can I use regular household cleaners on painted cabinets? It’s best to avoid harsh chemicals. Stick to mild dish soap and water for cleaning.
Q: What should I do if the paint on my cabinets is peeling? Peeling paint usually requires removal of the loose paint, sanding, priming, and repainting the affected area.
Q: How can I prevent my painted cabinets from fading? Limit direct sunlight exposure with blinds or curtains and use paints with UV protection.
Q: Is it necessary to hire a professional for repainting, or can I do it myself? While DIY is possible with the right tools and preparation, hiring a professional can ensure a durable and high-quality finish, especially for extensive projects.